Key Takeaways
- Duct sealing improves HVAC efficiency and air quality and can reduce energy consumption by up to 20%.
- Signs your ductwork may need sealing include uneven room temperatures, spiking energy bills, and visible duct damage.
- Best times for duct maintenance are spring and fall before heavy heating or cooling usage.
- Three primary methods for sealing ducts are sealant tape, mastic duct sealant, and Aeroseal.
- DIY sealing can be cost-effective but may lack professional quality.
When your heating, ventilation, and air conditioning (HVAC) system is running, it relies on a network of ducts to deliver conditioned air to every room in your home. Unfortunately, these duct systems are often less than perfect, losing 20 to 30 percent of the air that flows through them.
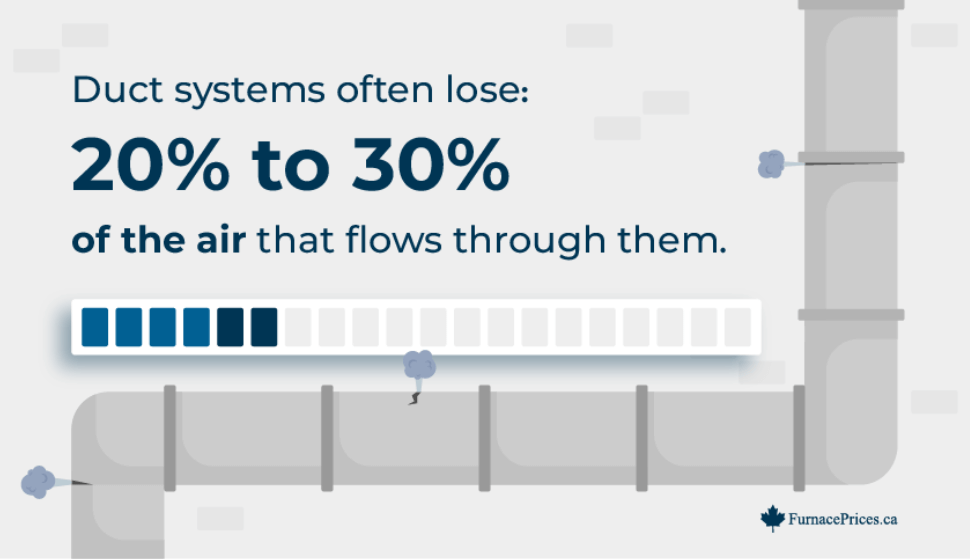
This is due to leaks, gaps, and poor connections. The outcome? You’re hit with higher utility bills and a home that’s not as comfortable as it could be.
This is due to leaks, gaps, and poor connections. The outcome? You’re hit with higher utility bills and a home that’s not as comfortable as it could be.
So, how can you tell if your ducts are leaky? Is duct sealing really worth the investment? How much energy can you actually save?
In this duct sealing guide, we aim to answer these pressing questions. Keep reading!
What is Duct Sealing?

Duct sealing is a process of identifying and sealing off any leaks, cracks, and holes that might exist in your ductwork. It is a practical and efficient method to enhance both the performance of your HVAC system and the quality of air inside your home.
The primary goal is to ensure that conditioned air, whether heated in the winter or cooled in the summer, flows directly to its intended destination without any loss or contamination.
The best time for duct cleaning is either in the spring or fall, before the heavy use of heating or cooling systems.
If you don’t seal your ductwork, you risk reducing the overall lifespan of your HVAC system as it has to work harder to maintain your home’s temperature.
Poor duct sealing can also increase greenhouse gas emissions and lower indoor air quality, allowing dust, allergens, and other pollutants to circulate throughout your home.
Benefits of Duct Sealing
Overall, sealing your ducts brings multiple advantages, including the following:
- Better indoor air quality by blocking entry of dust and allergens
- Boosts HVAC efficiency for more effective heating and cooling
- Lowers utility bills through reduced energy consumption
- Ensures consistent room temperatures for year-round comfort
- Minimizes risk of hazardous gas back-drafting into living areas
- Allows for smaller, more cost-effective HVAC system installation
- Reduces environmental impact by lowering fossil fuel-based energy use
8 Signs Your Ductwork Needs to Be Sealed
Here are some key indicators to help you determine whether your ductwork needs to be sealed.
- Uneven Room Temperatures: If some rooms are colder or hotter than others despite running the HVAC system, this is often a sign of leaky ductwork.
- Dust Issues: Excess dust accumulating throughout your house may indicate air ducts leaking and pulling in dust from unfiltered areas.
- Damaged Ductwork: If your ductwork visibly appears in bad shape, with cracks or holes, it’s a clear sign that it needs sealing. Gaps between joints in your ductwork are prime areas for air to escape, reducing system efficiency.
- Uninsulated Access Panels: If the access panels to your ductwork are not insulated or secured, it’s likely that air is escaping.
- Clogged Air Filters: Frequent clogging of air filters may indicate that ducts are pulling in and circulating more debris and dust, which could be due to leaks.
- Spiking Energy Bills: If your energy bills suddenly rise without a corresponding increase in HVAC usage, it could signal leaky ducts.
- Constant HVAC Repairs: A newish HVAC system needing constant repairs could mean the ductwork is leaking, causing the system to overwork.
- Older Duct System: Ductwork over 15 years old is more likely to have leaks simply due to wear and tear over time.
Get Quotes
How soon are you looking to buy?*


Duct Leakage Test
A DIY duct leakage test can give you a good idea of whether leaks need addressing. Here’s a step-by-step guide to help you carry out this test effectively.
- Turn on the HVAC system’s “fan” setting to circulate air.
- Purchase a smoke pencil or incense stick (typically costs around $30 at a local home improvement store).
- Hold the smoke pencil close to visible ductwork.
- Slowly move it along the length of it and watch for smoke disturbances that indicate leaks.
- Use colored tape to mark leaky spots for easier identification later.
This method only tests visible and accessible ducts (hidden leaks may still exist). For a comprehensive check, consider a professional blower duct test.
Professionals will place temporary seals over all the grills and registers in your home, which allows them to measure how significant the leaks or holes are in your duct system.
Preparing for this test takes about 20-30 minutes, with the actual testing process lasting another 20-25 minutes. The cost of the leakage test is around $99 for a detailed analysis.
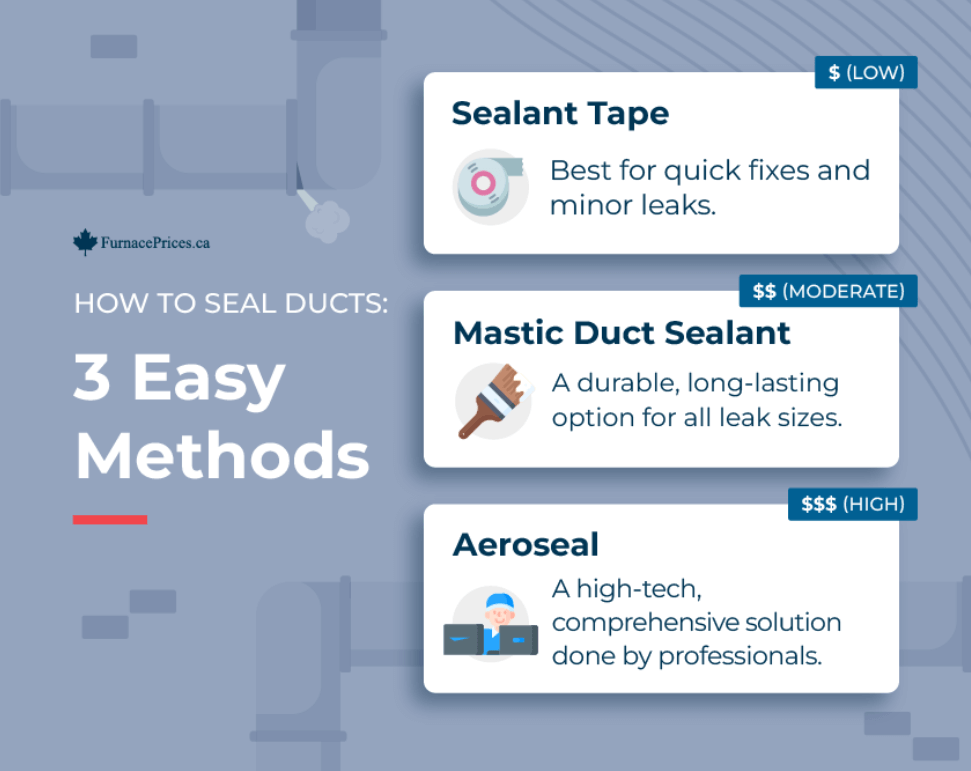
How to Seal Ducts: 3 Easy Methods
1. Sealant Tape
Ideal for minor leaks, sealant tape is a quick, do-it-yourself method that requires minimum tools and time. Aluminum foil tape is the best tape to seal ductwork.
Cost: Around $10 – $20 per roll of tape. Depending on the size and number of leaks, one or more rolls may be required.
Steps:
- Identify the leaks in your ductwork.
- Cut the sealant tape to the required length.
- Clean the area around the leak with a damp cloth.
- Firmly apply the tape over the leak, pressing down to ensure it adheres.
Benefits:
- Quick and easy to apply.
- Inexpensive solution for minor leaks.
- Readily available at hardware stores.
2. Mastic Duct Sealant
Cost: A 1-gallon bucket typically costs around $20 – $40. This should be enough for an average-sized home, though larger homes may require more.
Mastic duct sealant is the go-to choice for a more durable and permanent solution. While slightly more labor-intensive, the results are long-lasting.
Steps:
- Identify the leaks.
- Clean the surface around the leak.
- Use a paintbrush or caulk gun to apply mastic sealant over the leak.
- If the gap is larger than 1/4 inch, reinforce it with fiberglass mesh tape.
- Allow time for the mastic to dry.
Benefits:
- Highly durable and long-lasting.
- Versatile application with either a paintbrush or caulk gun.
- Effective for sealing large gaps.
3. Aeroseal
Cost: This is a professional service that typically ranges from $1,200 – $2,500 for an entire home, depending on the air conditioning duct size and the extent of the leaks.
Aeroseal duct sealing offers a high-tech, comprehensive solution that not only identifies all leaks but also seals them in one go, all done professionally.
Steps:
- A technician blocks all vents and registers to pressurize the system.
- A computer analysis identifies all leaks.
- The leakage percentage is measured for a before-and-after comparison.
- The technician releases the aerosol sealant throughout the duct system.
- The technician re-measures the leakage to confirm the improvement.
Benefits:
- Comprehensive sealing, including hard-to-reach areas.
- Professionally done, ensuring maximum effectiveness.
- Provides measurable data to confirm improvement.
DIY or Hire a Professional for Duct Sealing – Which Is Better?
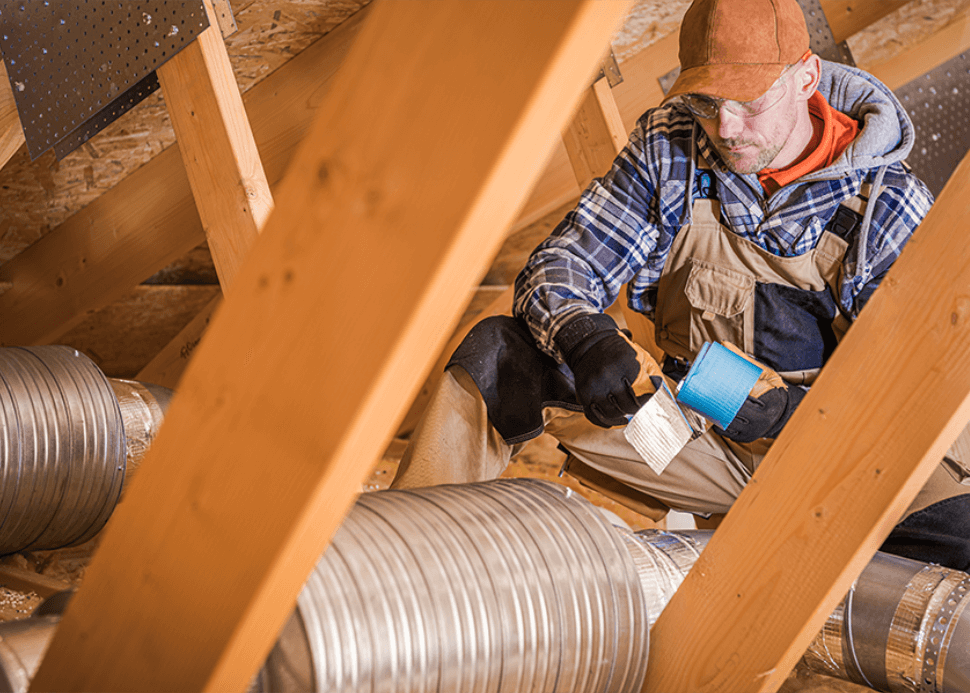
Going the DIY route for duct sealing is tempting because it offers immediate cost savings. You purchase the necessary materials, such as duct sealant or tape, and get to work yourself.
This option is particularly beneficial for those who have basic handyman skills and a straightforward duct system to work with.
However, DIY has its limitations. The effectiveness of the seal may not be as good as a professional’s work, especially if you’re new to this kind of project. You may also find it difficult to access hard-to-reach areas.
On the other hand, hiring a professional provides the peace of mind that comes with expert service. You get the advantage of state-of-the-art methods like Aeroseal and can be assured of a job well done. However, this comes at a higher initial cost.
| Aspect | DIY Duct Sealing | Professional Duct Sealing |
|---|---|---|
| Cost | Lower upfront costs | Higher upfront costs |
| Quality | Dependent on skill level | Often of high-quality |
| Time Commitment | Variable, based on your speed and skill | Quicker, as professionals are more efficient |
| Additional Tools Cost | Yes | No |
| Ease of Access | Limited to reachable areas | Can handle hard-to-reach areas |
| Long-term Benefits | May require resealing | Longer-lasting seals |
| Warranty | No warranty | Often comes with service warranty |
Frequently Asked Questions
What Is the Difference Between Duct Cleaning and Duct Sealing?
Duct cleaning removes debris and contaminants from the air ducts, while duct sealing closes gaps and leaks to improve airflow and energy efficiency.
How Much Energy Can You Actually Save With Duct Sealing?
Sealing your ducts can result in up to around 20% energy savings.
Can I Use Silicone to Seal Ductwork?
Yes, silicone adhesives and sealants can be used for sealing gaps and joints in HVAC systems, particularly in high-temperature areas. They offer good adhesion and flexibility.
How to Seal Ductwork In a Slab?
To seal ductwork in a slab, first identify leak locations using diagnostic tools. Chip away the surrounding concrete to expose the leaky duct section. Apply mastic sealant or a specialized duct liner like Duct Armor to the leak. Finally, patch the concrete back into place. Professional consultation is often recommended due to the complexity.


